How to Integrate GoHighLevel with Callin.io Using Zapier Webhook
Step 1: Create a Form on GoHighLevel
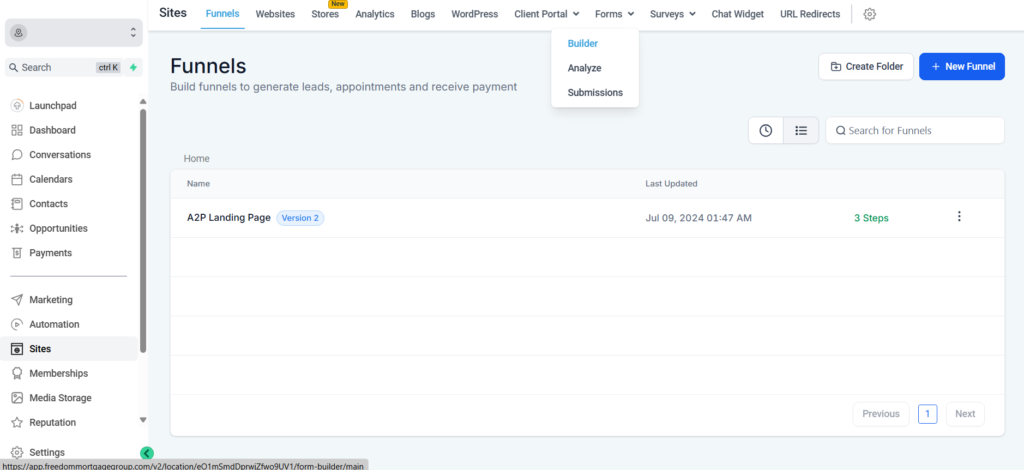
- Navigate to Sites:
- In GoHighLevel, go to the ‘Sites’ section.
- Click on ‘Forms’ as shown in the image below.
- Create Your Form:
- Design a simple contact form with fields for name, email, and phone.
- Save your form.
Step 2: Set Up Automation Workflow
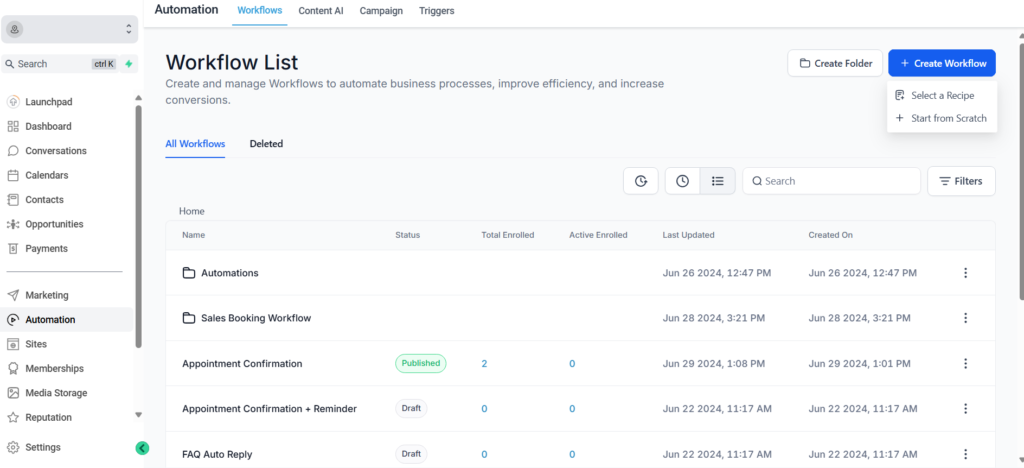
- Go to Automation:
- Navigate to the ‘Automation’ section in GoHighLevel.
- Click on the ‘Create Workflow’ button.
- Select ‘Start from scratch’ from the dropdown menu.
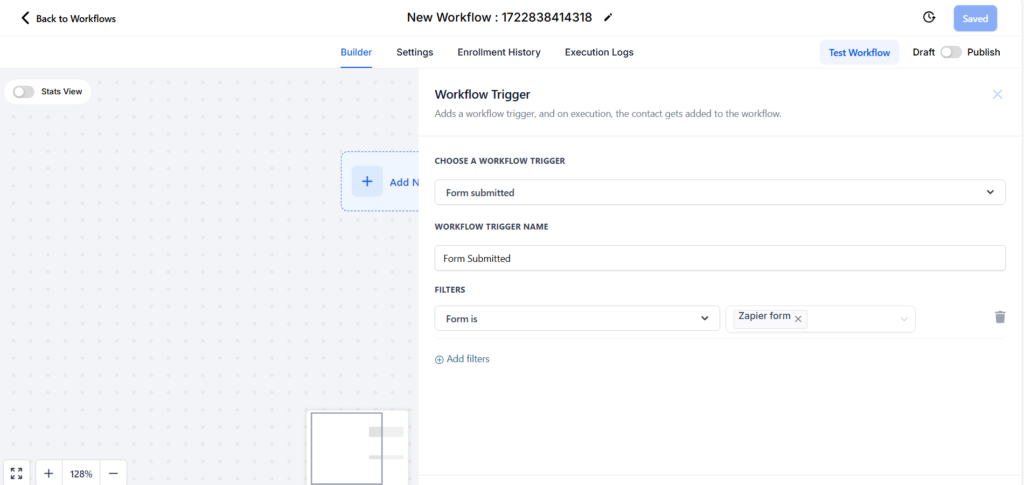
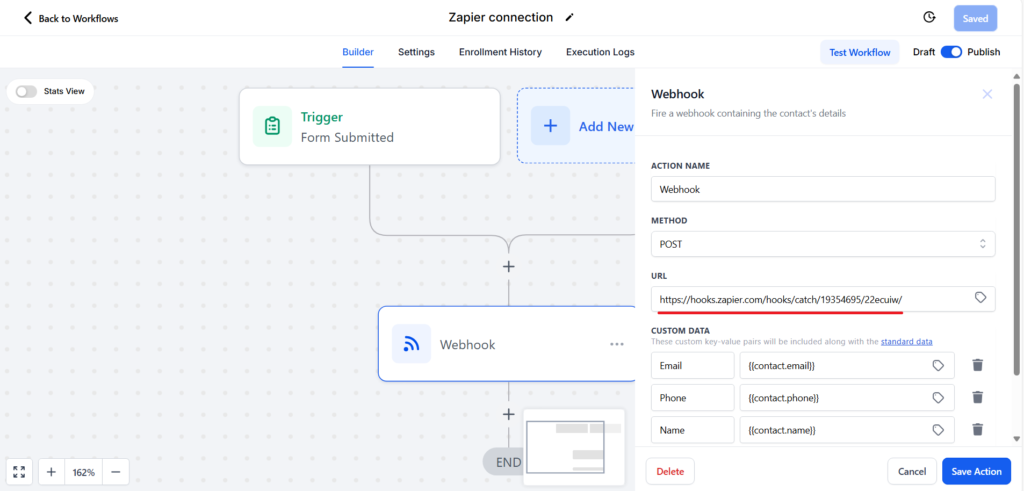
- Add New Trigger:
- Click on ‘Add new trigger’.
- Search for ‘Form submitted’ and set the following parameters:
- Workflow Trigger Name: Form Submitted
- Filters:
- Form is: Zapier form
- Ensure to activate the filter field to select the form you want to connect (in this example, ‘Zapier form’).

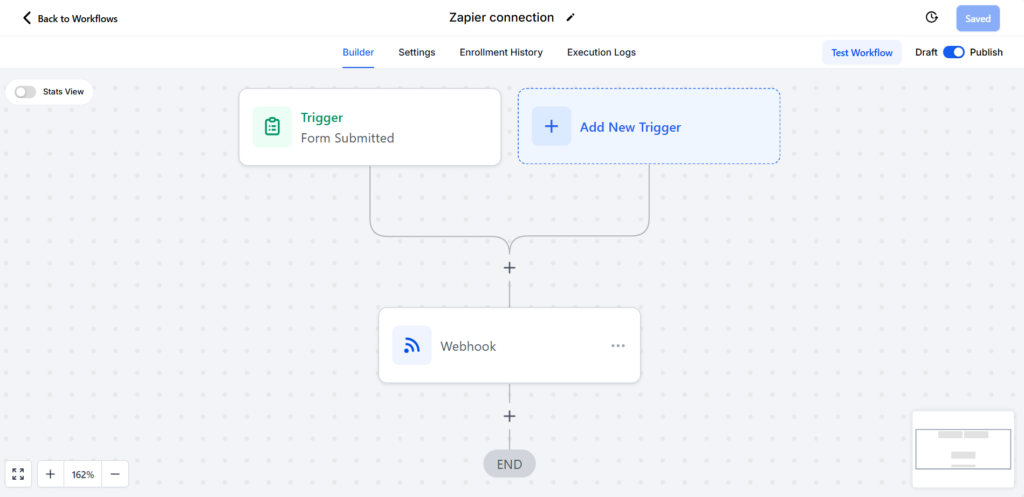
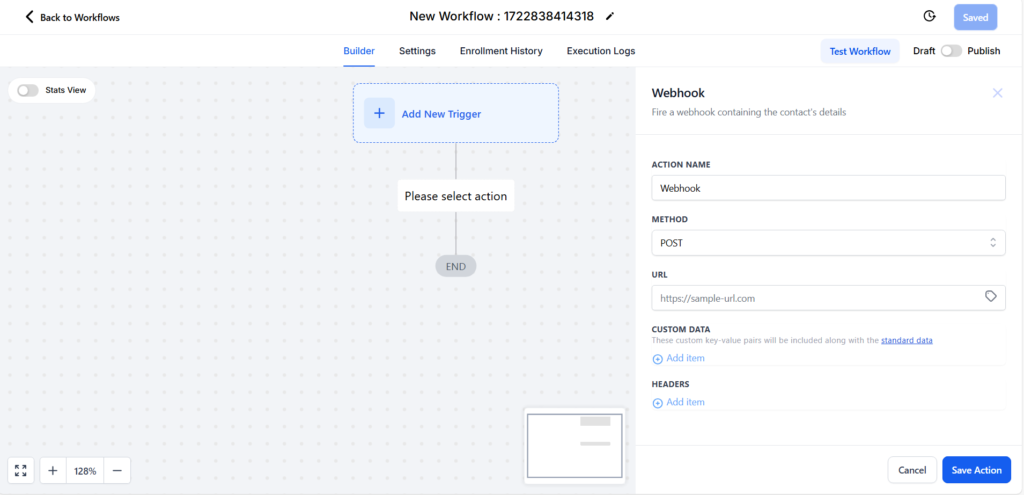
- Add Webhook Action:
- Click on the plus (+) icon to add a second step to your workflow.
- In the search bar, type ‘Webhook’ and select it.
- Set the following parameters:
- Action Name: Webhook
- Method: Post
- URL: Insert the webhook URL you will create in the next step in Zapier.
- Custom Data:
- email:
{{contact.email}} - phone:
{{contact.phone}} - name:
{{contact.name}}
- email:
- Save the action.
Step 3: Create Webhook in Zapier
- Open Zapier:
- Log in to your Zapier account.
- Create a new Zap.
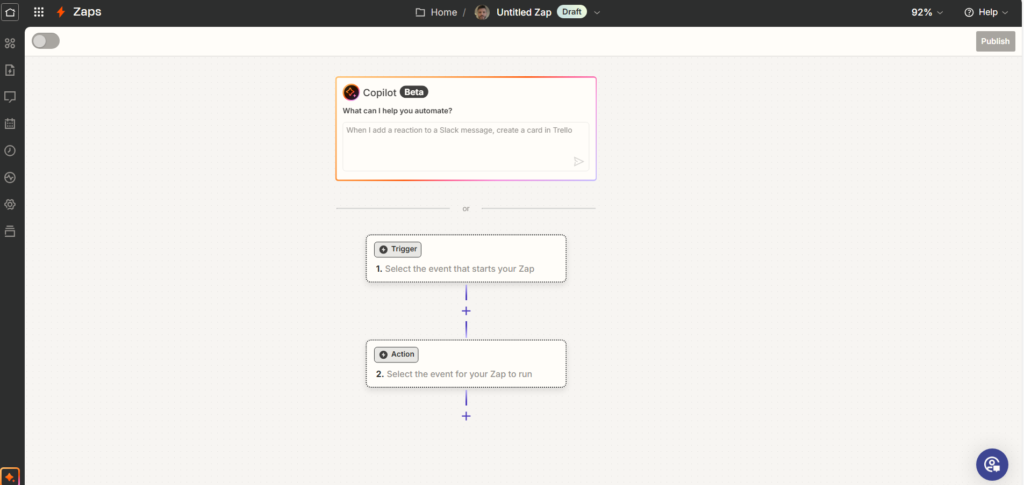
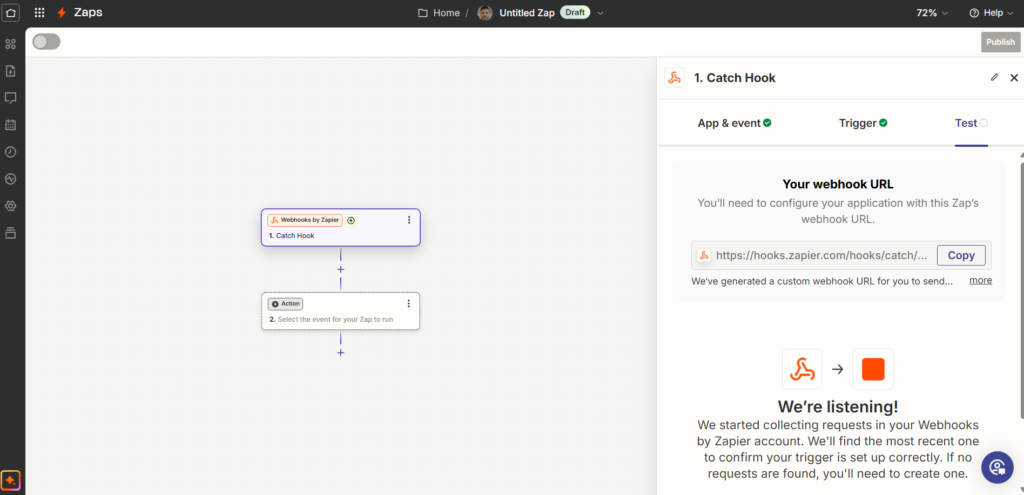
- Set Webhook Trigger:
- Copy Webhook URL:
- Click on the test tab and copy the provided webhook URL.
- This URL should be inserted into the webhook action in your GoHighLevel workflow.
Step 4: Test the Integration
- Insert URL in GoHighLevel:
- Return to GoHighLevel and paste the copied webhook URL into the URL field of your webhook action.
- Test the Trigger:
- Go back to Zapier and test the trigger to verify that the connection with the form is set up correctly.
Step 5: Configure the Action (Callin.io)
- Action: Set up the action with Callin.io.
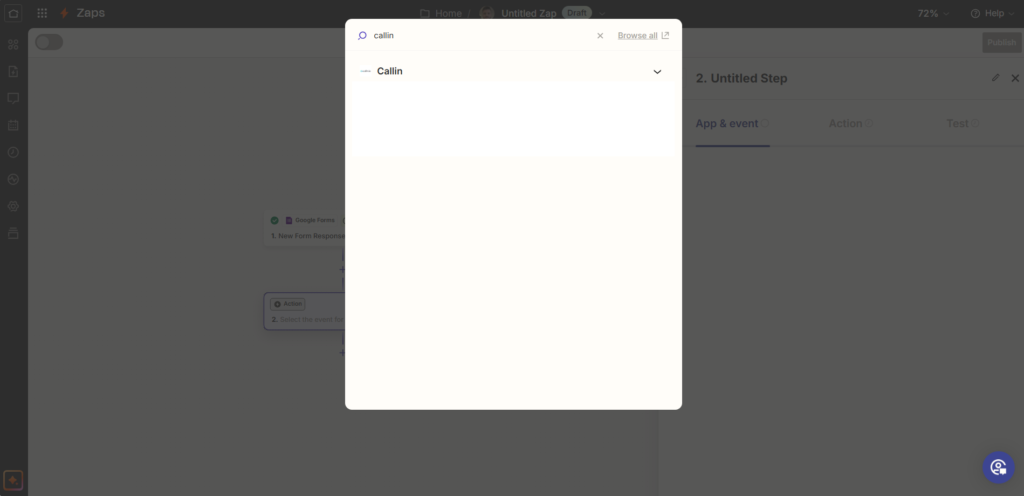
- Action App: Select Callin.io.
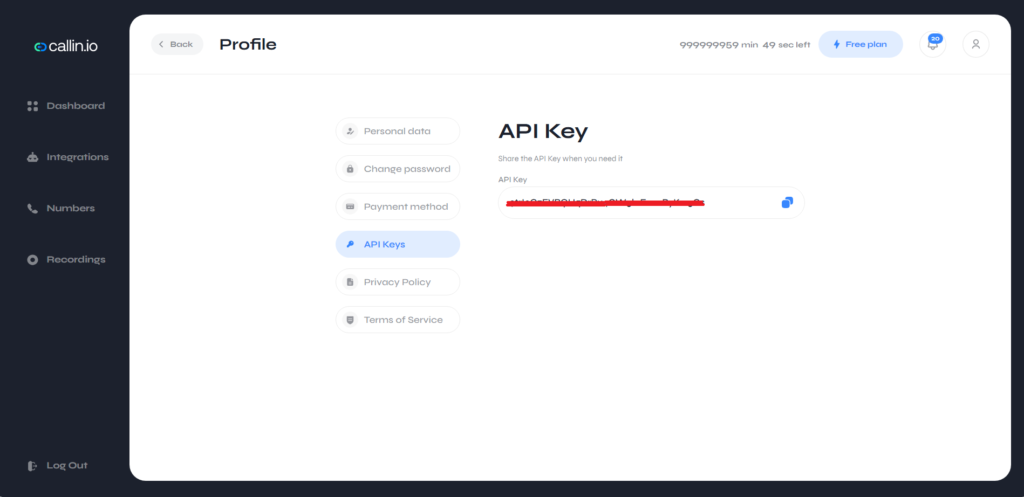
When you connect Callin.io, a window will appear asking you to enter your email and Callin.io API key (you can copy this information from your Callin.io dashboard, in the profile section).
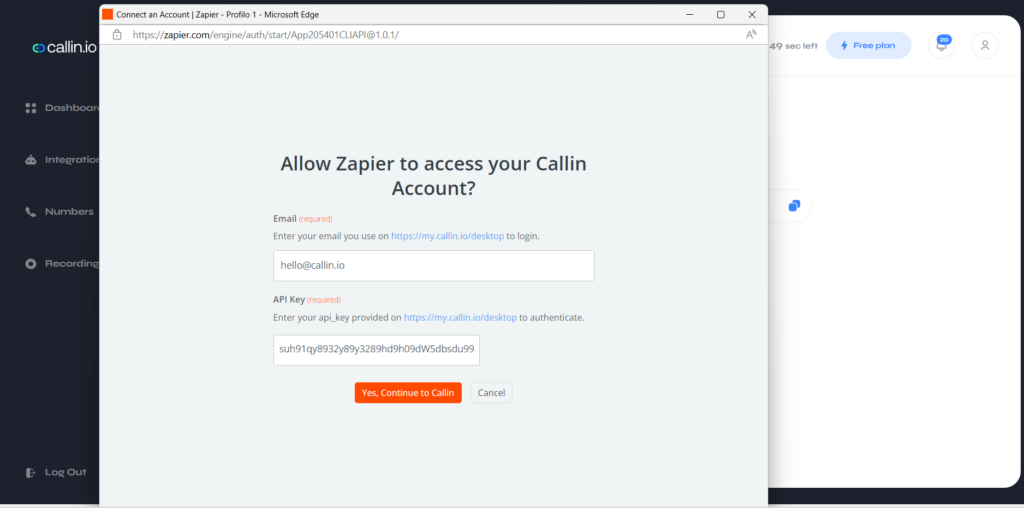
- Connect Account: Connect your Callin.io account to Zapier.
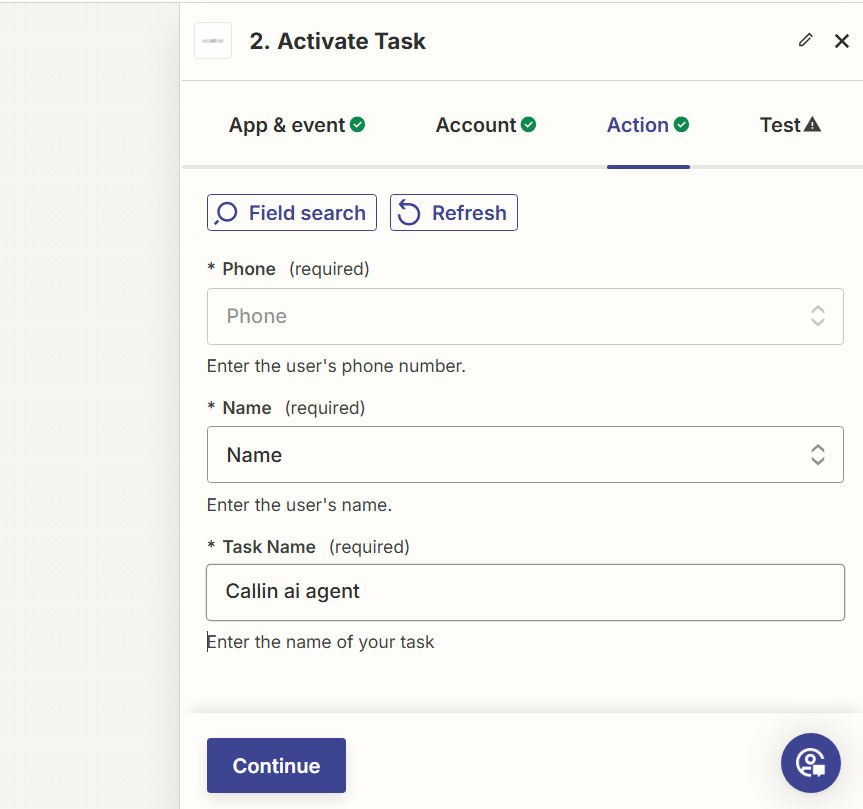
- Action Event: Select the event that will trigger a call: “Activate Task”.
- Set Up the Action:
- Phone Number: Map: name and phone number field from the connected form.
- IMPORTANT: Enter the exact name of the task created in the Callin.io dashboard in the “task name” field.
Test the Action: Run a test to ensure Callin.io receives the data correctly and can initiate a call.
5. Turn On the Zap
- Once everything is set up and tested successfully, turn on the Zap.